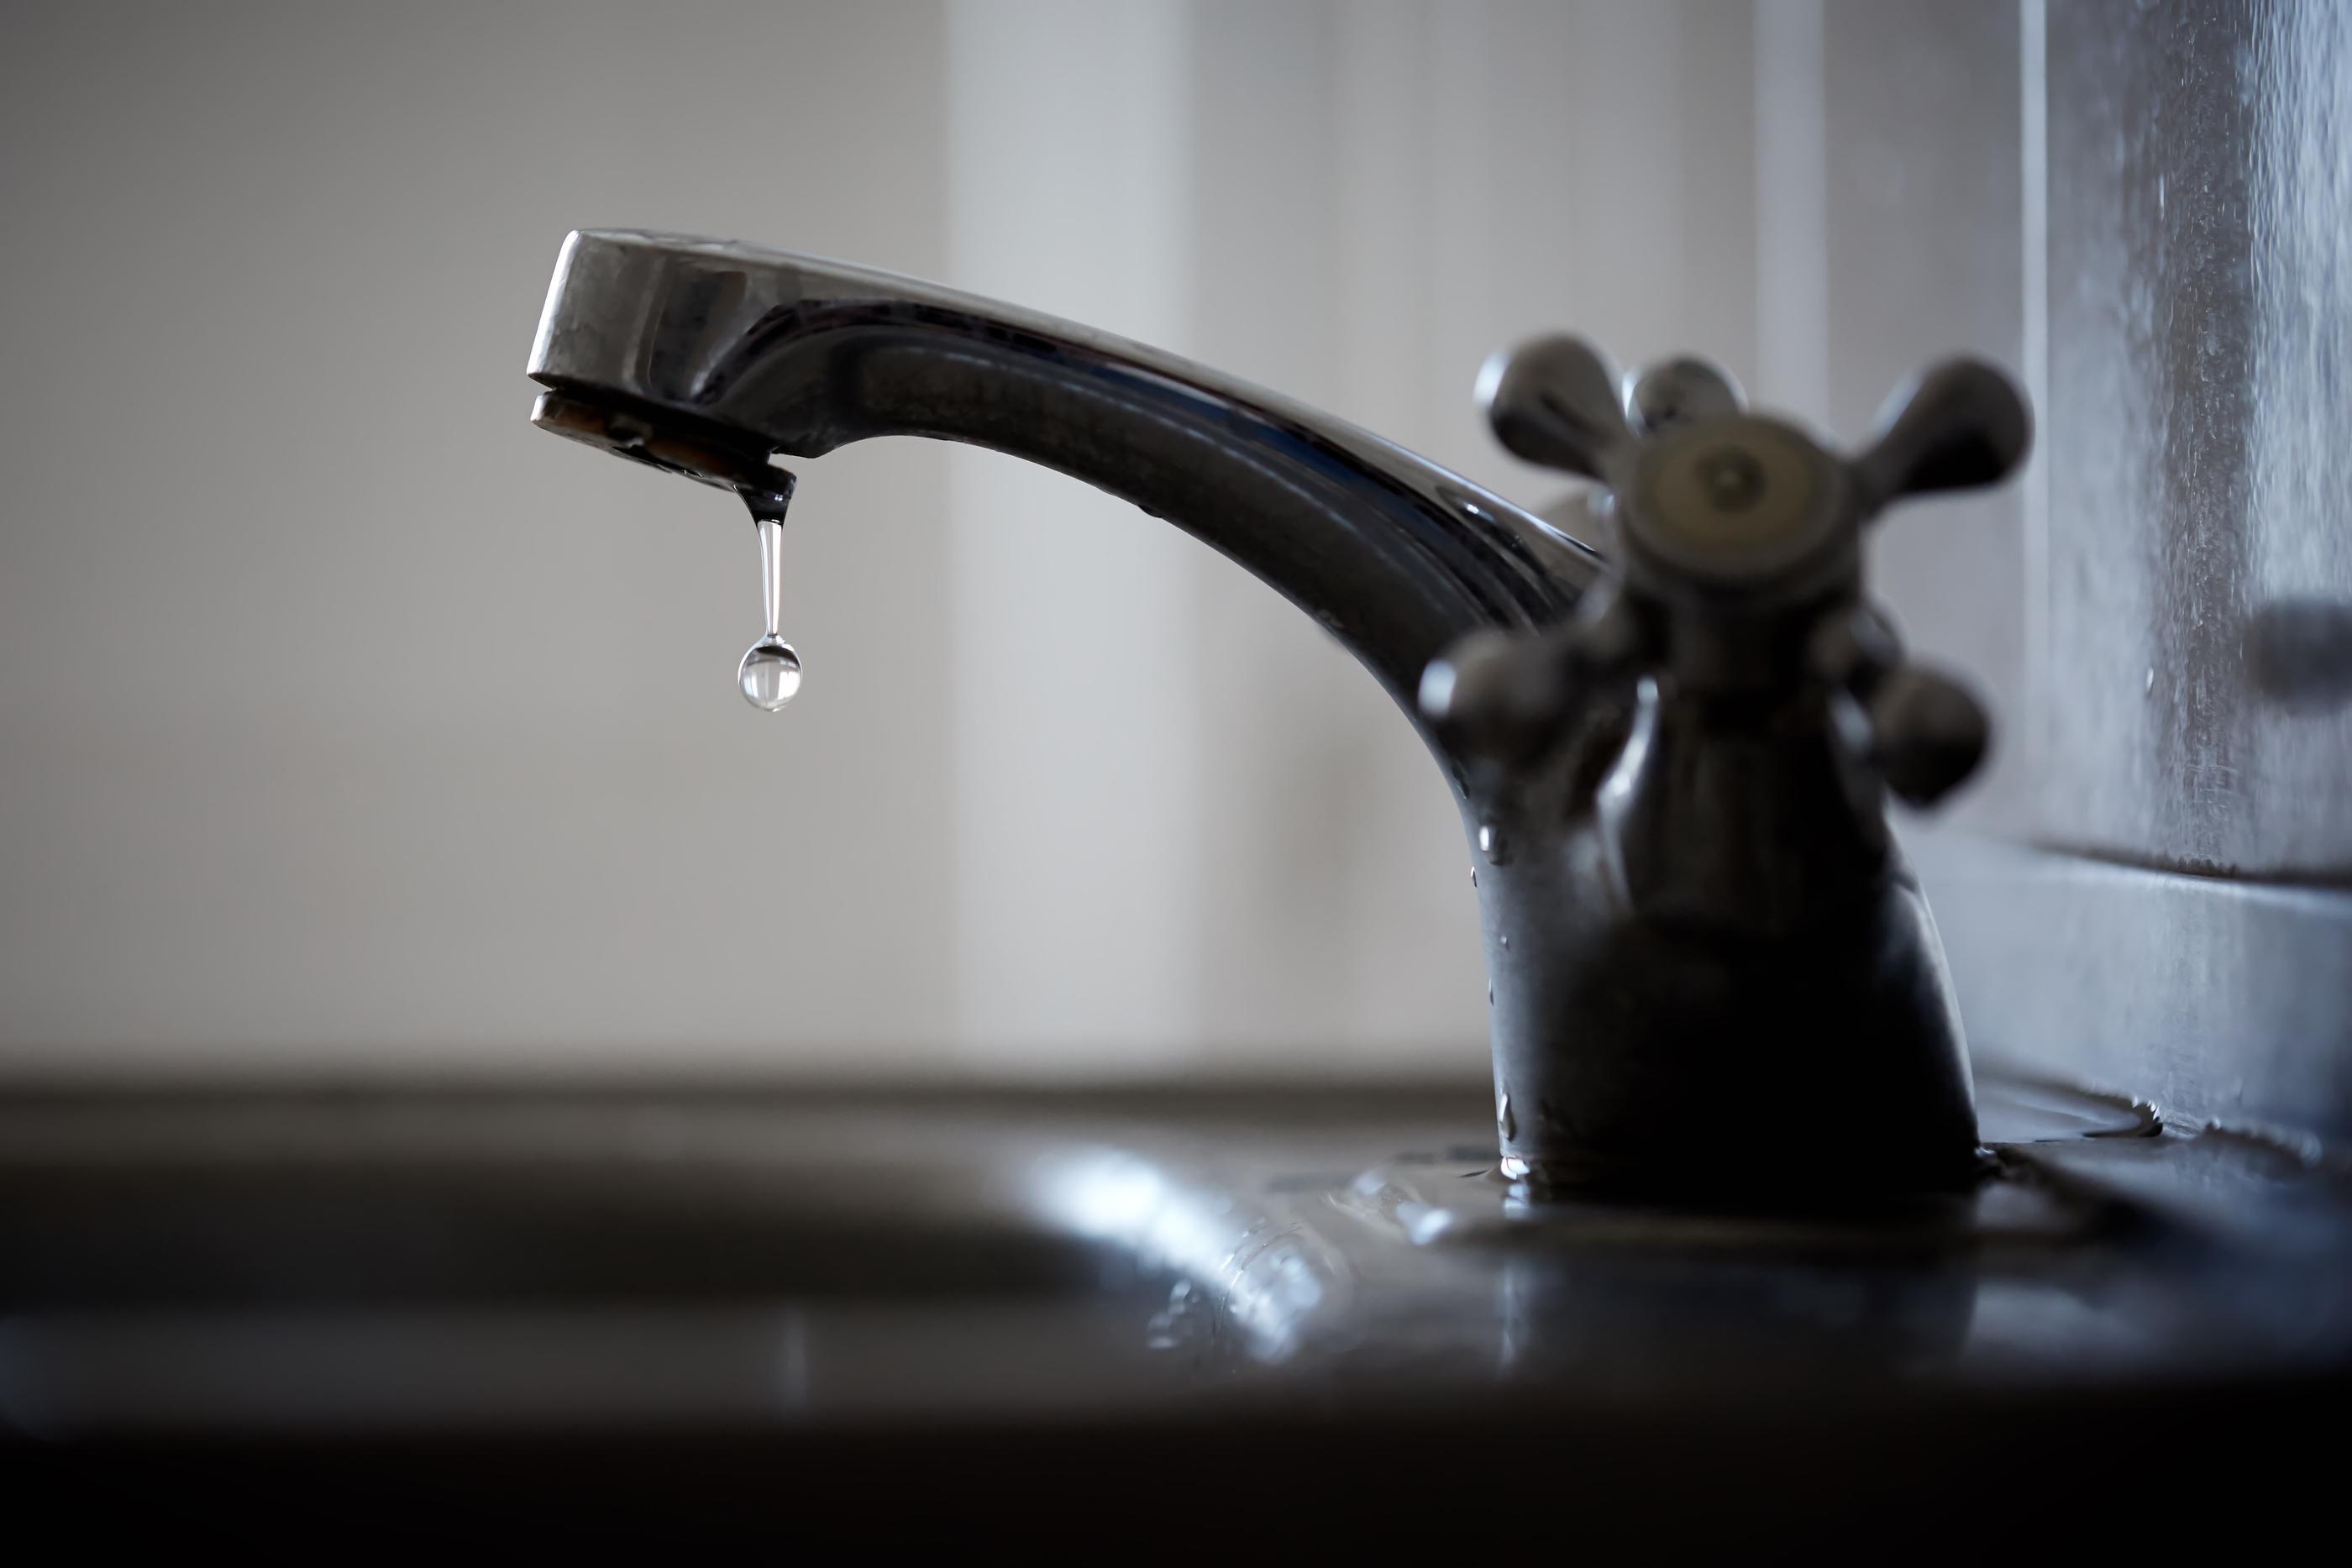
Drip… Drip… Drip... it's a noise that all homeowners are unfortunately familiar with. Fixing a leaky faucet means finding peace, especially when that monotonous drip is all you can think about. It’s frustrating when you don’t have the right solution to your problem.
A leaking compression faucet isn’t the worst problem to have as a homeowner, but it can cause a lot of problems if not handled quickly. Left ignored, that tiny drip can cause a lot of unexpected damage and expenses, like corrosion and high utility bills.
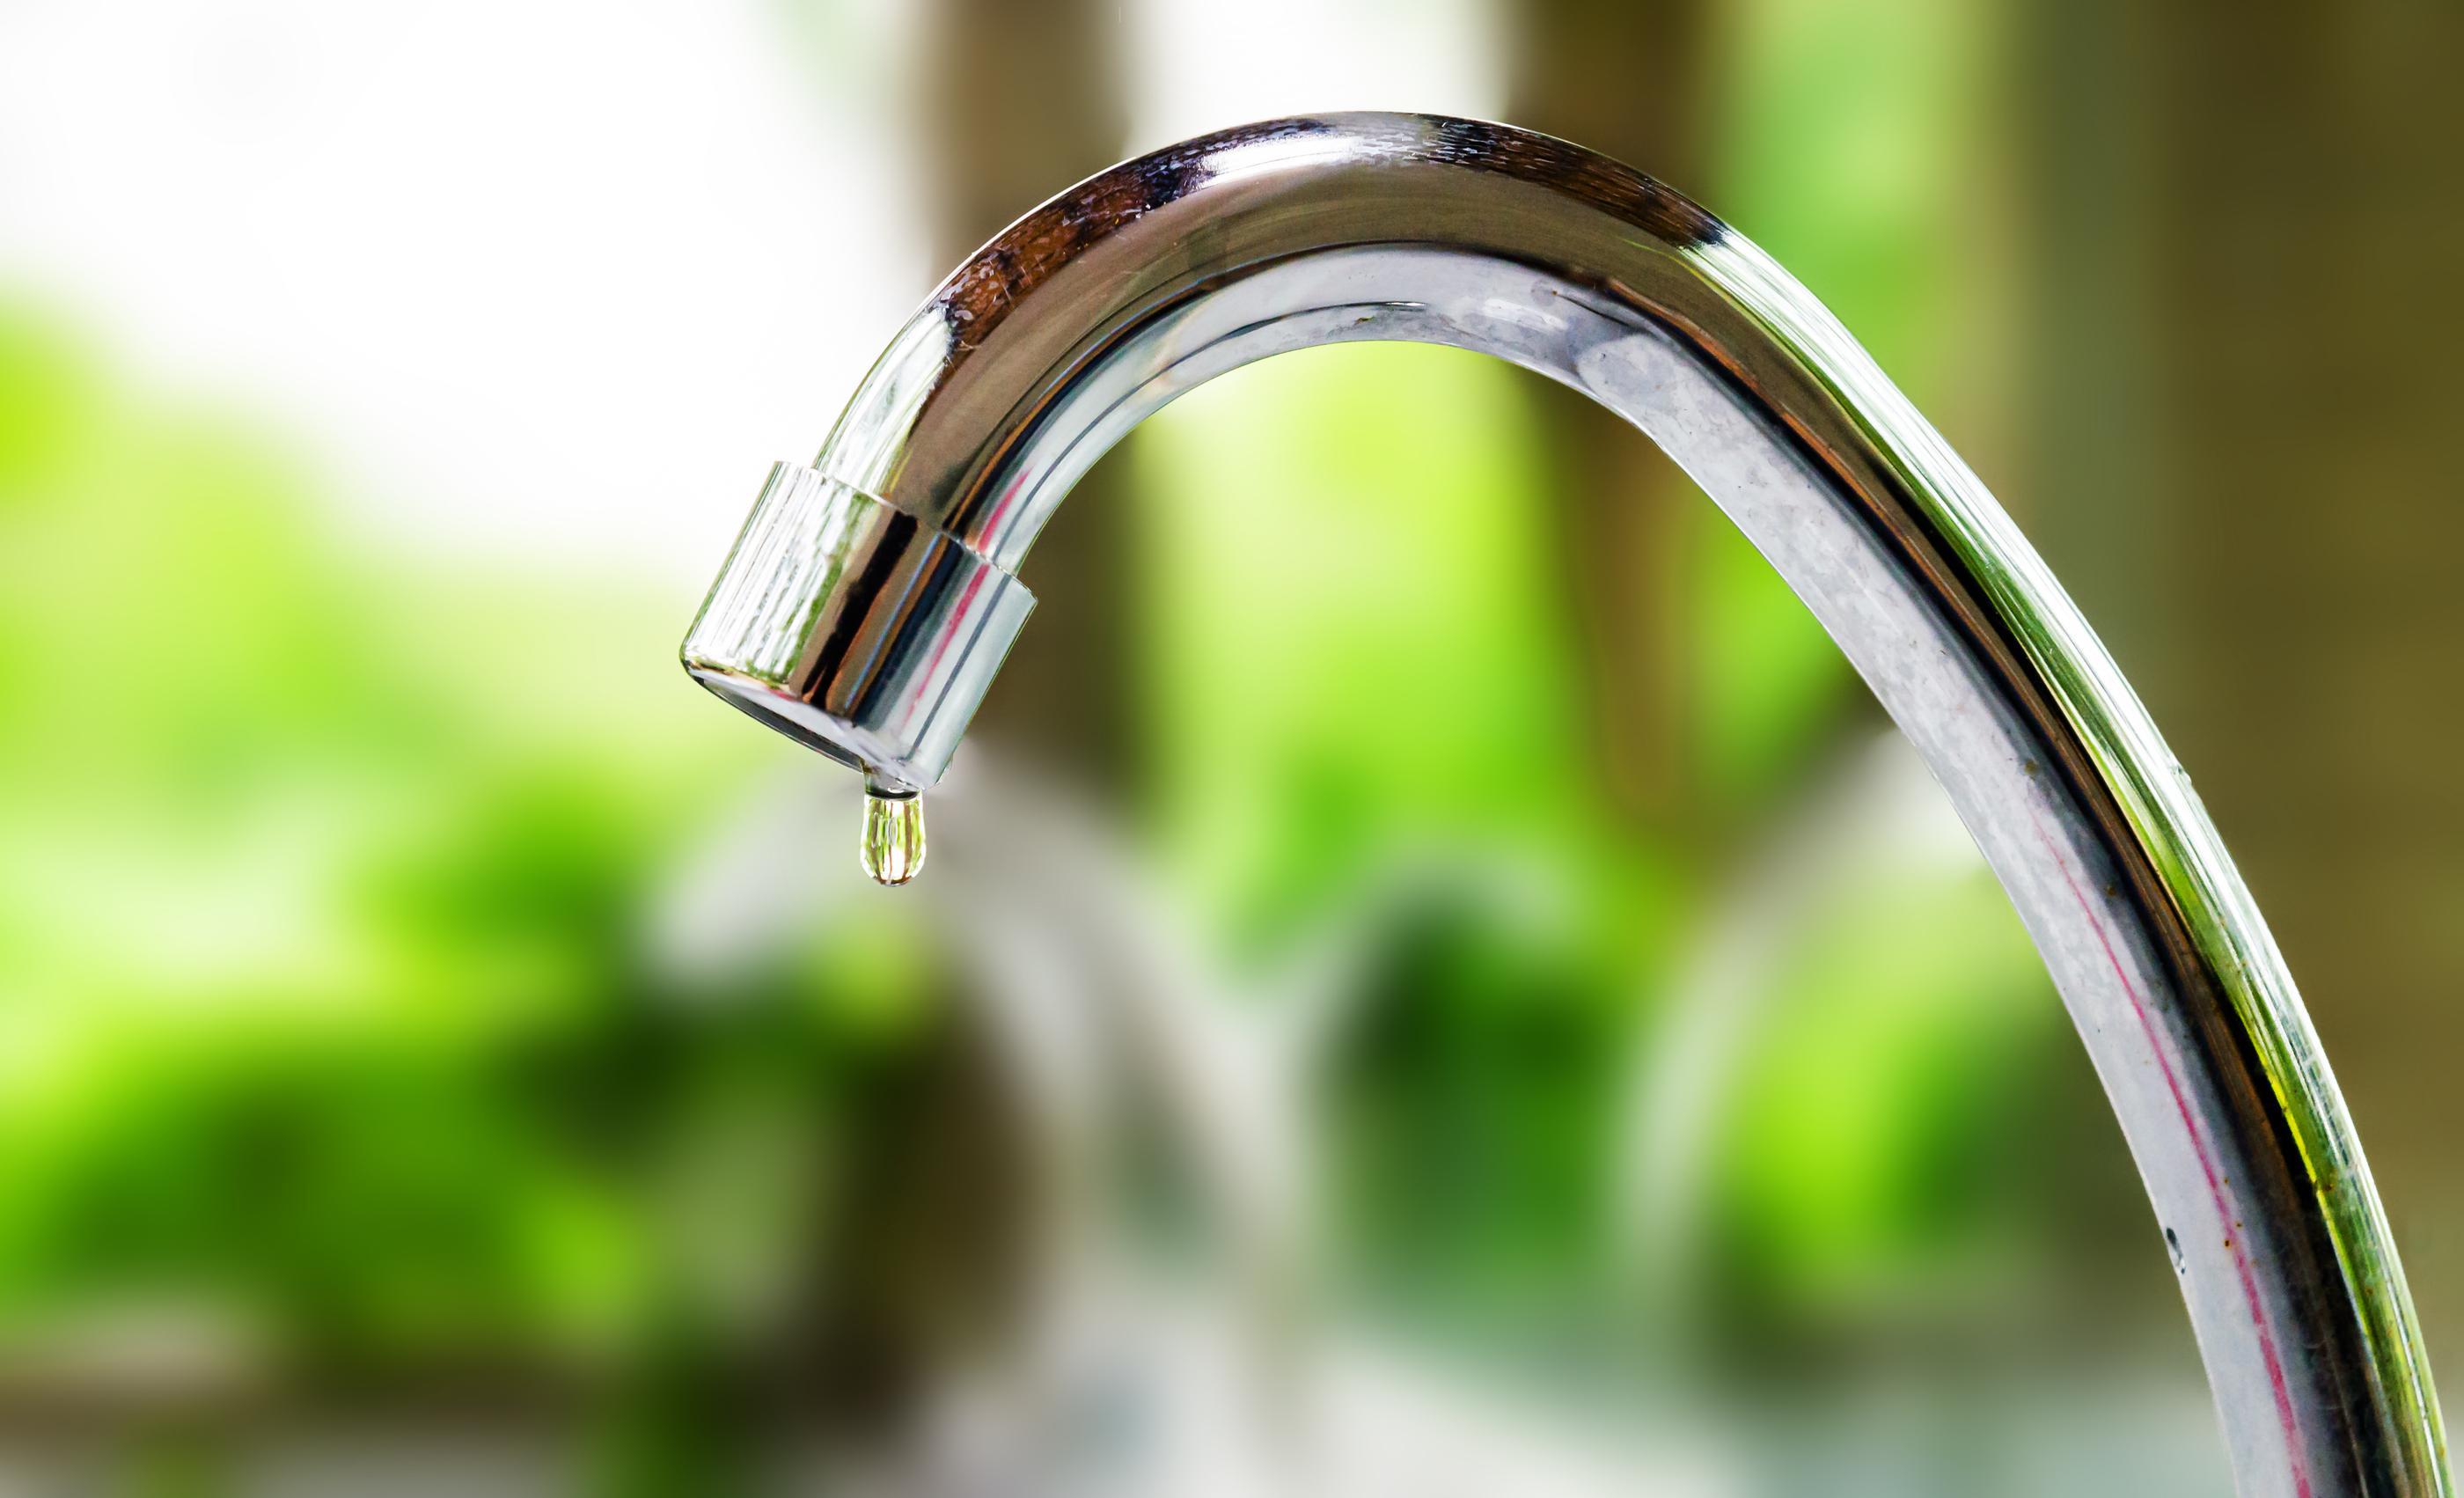
In fact, according to the United States Environmental Protection Agency (EPA), the average household’s leaks account for nearly 10,000 gallons of water wasted every year, and 10 percent of homes have leaks that waste 90 gallons or more per day.
Ideally, you should repair a leak as soon as you detect it. To do that, you need to learn how to troubleshoot a compression faucet, and repair it.
This blog aims to simplify and condense the process into six easy steps.
What Is a Compression Faucet?
A compression faucet is one of the four popular types, having been around ever since indoor plumbing became mainstream. They are typically found in older homes, and commonly used for utility sinks in newer homes. They are usually the most affordable option to build with but that comes with some drawbacks.
Their durability is often put into question and they are very prone to leaks making this faucet type maintenance heavy. The silver lining is that maintenance and replacement parts are rather inexpensive, protecting your bank account.
What Causes Leaks in Compression Faucets
Because leaks are so common with this type of spigot, it is crucial to arm yourself with the knowledge necessary to understand why it’s leaking and where it could be leaking from.
The most common reason for a leak is a worn-out washer. As you use it over time, the washer that shuts off the water flow wears out. When the washer goes bad, the water flow isn’t properly stopped, causing the leak.
The most typical fix for a compression faucet leak is to replace the washer.
Another common culprit for leaks is the O-ring. O-rings are small, round rubber rings that are seated in grooves, creating a seal. When applied correctly, they prevent leaks at joints and fittings.
If your leak is near the handle, a bad O-ring is the primary culprit.
6 Simple Steps to Fix a Leaky Compression Faucet
Now that you understand a little more about your faucet and why it might be acting up, let’s get into the nitty-gritty of how to fix it. Based on our years of experience, we’ve condensed this process down to 6 easy steps for you to follow.
Tools You’ll Need:
- A Screwdriver
- Adjustable Wrench
- Replacement Washer(s)
Case By Case:
- Penetrating Oil (for loosening stuck screws)
Step 1: Shutting Off Your Water Supply
This is one of the most important steps when you’re ready to start. Shutting off the main water supply in your home prevents any unexpected flooding while you’re fixing your faucet.
If you’re not sure where your water supply is, check your basement, crawlspace, garage, or next to your water heater. These are the most common places for a water supply to be located.
Step 2: Remove Your Faucet’s Handle (and cap)
Pull or gently pry off the handle’s cap (if you have one). Once you’ve done that, you can remove the handle of your faucet. It should be held by a tiny screw either on top or at the back of the handle. The locations of the screw vary and may be hidden by metal or a plastic button that snaps out.
Step 3: Remove Packing Nut and Stem
Remove the packing nut with your adjustable wrench, you can also use pliers for this step. Be careful not to damage the metal. Once you remove the packing nut, twist the stem out by spinning it in the same direction you would to turn on your faucet.
Step 4: Remove The Screw That Holds The Washer
This part can get tricky, especially if you have a screw that's really dug in there. If so, use your penetrating oil to loosen it up. When you do, examine the screw and stem and replace those if necessary.
Although this guide is to replace a washer, if you see a damaged part along the way, it's best to act on it.
Step 5: Replace Your Washer
You will have to get the exact replacement for your current washer. Anything that is “good enough” will only partially stop the leaks. Take a look at your old washer, see if it’s beveled or flat, and find the right replacement for it. If you’re having trouble with this step, most home improvement stores can help you find the correct replacement washer.
Step 6: Put Everything Back Together
You’re done with the hardest parts! The only thing left now is to reassemble everything.
Once you’ve fastened the new washer to the stem, put the assembly into the faucet. When that is in place, put the packing nut back on (again, be careful not to scrape or scar the metal.) After that, reinstall the handle and cap. Finally, turn your water supply back on and check for leaks.
Ben Franklin Plumbing in Port St. Lucie, Florida, is Here to Help
Now that you’re equipped with the right tools and knowledge to fix a leaky compression leak, it’s time to eliminate the pesky leak. If you’re having trouble with some of the steps and need further assistance, that’s perfectly normal!
Benjamin Franklin Plumbing of Port St. Lucie is here to help with any sort of leak and other plumbing issues. You can either schedule an appointment through our website or you can give us a call. We look forward to serving you!
 Your Privacy Choices